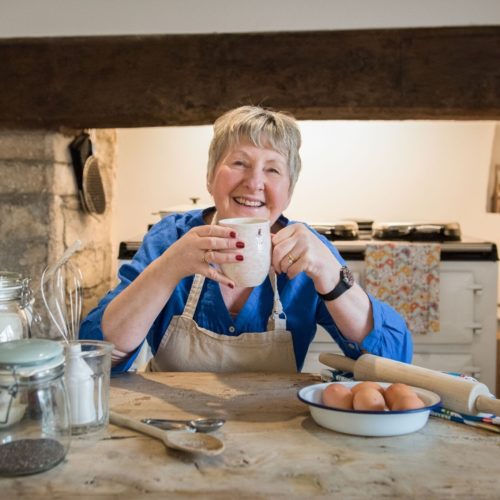
Val Stones, Stannah’s baking expert and 2016 Great British Bake Off contestant, shares why now is the perfect time to start growing your own produce and why trying to bake with fruits you cared for and nurtured makes it even more special.
I was born just after the Second World War and grew up in a household where “make-and-mend” and “waste-not-want-not” were key mottos. My mum and grandmas would bake bread daily, using fruit and vegetables they’d grown themselves. My dad took us for long walks at the weekends and taught us how to find wild foods that could be gathered and eaten.
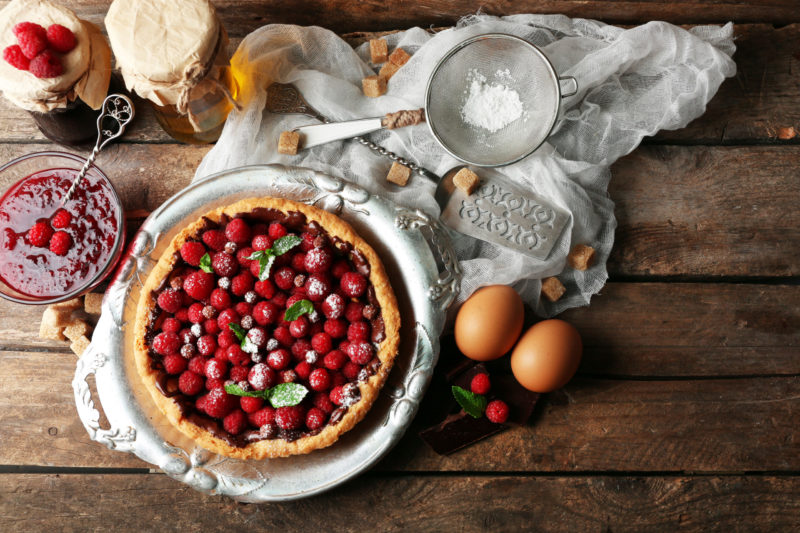
When I retired, I decided that my garden should be a productive one. The house my husband and I bought had one mature apple tree and we planted four more. We also planted a Victoria plum, two grape vines, a fig tree and had patches for blackberries and strawberries. In addition to these, I have an unusual berry tree called a ‘Japanese Wine Berry’; it has small jewel-like ruby red berries that taste delicious. All these grow in the borders along with rhubarb, garlic and potatoes. Raspberries and tomatoes grow in our pots too.This is my take on a classic summer bake. It seems like a long process, but the results are just divine. And trust me when I say, these classic berry tarts taste even sweeter when you’ve grown or picked the ingredients yourself.
Summer fruit tart
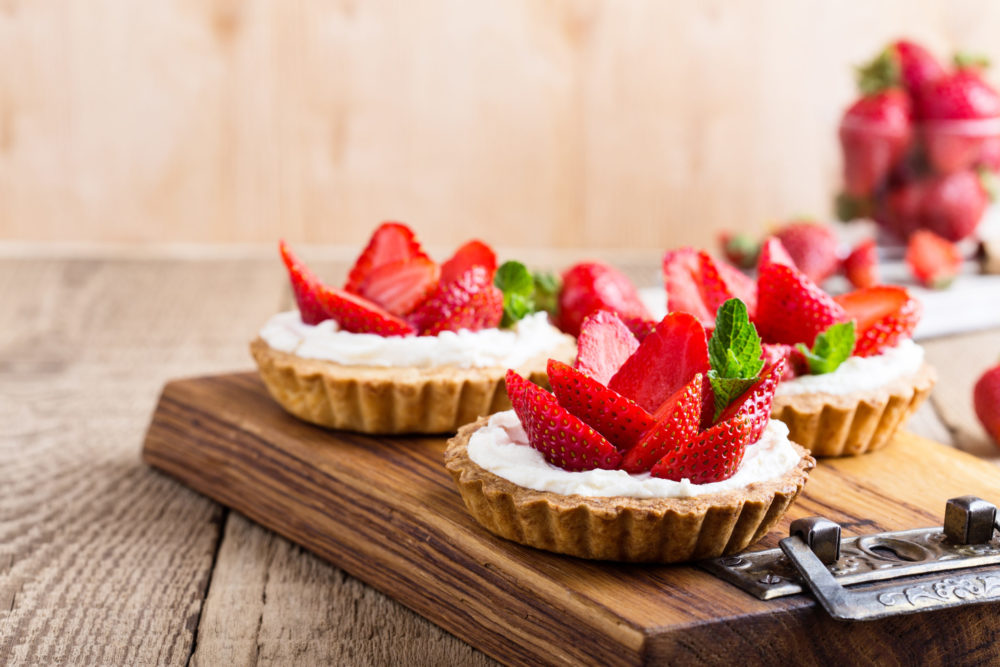
My pastry tart bake has a crisp buttery case that is just right for filling with either whipped double cream or crème patisserie and topped with the summer fruits of your choice.
Pastry
250g plain flour
100g unsalted butter cubed and softened
100g icing sugar, sifted
Pinch of fine sea salt
2 eggs
½ tsp vanilla extract
Tin foil and baking beans
Whipped cream filling
250ml double cream
½ tsp vanilla extract
½ tsp icing sugar
Creme Patisserie
6 egg yolks, lightly beaten
125g caster sugar
500ml whole milk
1 tsp vanilla bean paste
50ml double cream
Fruit filling
2 punnets of strawberries
2 punnets of raspberries
Mint leaves to garnish
Icing sugar for dusting
To make the pastry
- Sweet pastry should be made on a work surface and by using a large mixing bowl.
- Put the flour on the work surface or in a bowl and make a well.
- Put the butter in the well with the icing sugar and salt, then mix together with your fingertips. Begin drawing the flour into the centre until it becomes a rough dough.
- Make a well in the centre of the flour mixture, then add the eggs and the vanilla bean extract.
- Keep lightly working the mixture until it forms a dough that holds together.
- When the dough has come together, lightly knead it for a few turns until it is smooth.
- Roll the dough into a ball, then slightly flatten out before wrapping in cling film and rest in the fridge for one to two hours before using.
To make the crème patisserie
- Whisk the egg yolks and one third of the sugar until the mixture thickens and reaches the light ribbon stage. That is when you lift the beaters out of the mixture – it will leave a trail that lasts momentarily before sinking back slightly.
- Whisk in the flour until fully combined.
- Place the milk in a saucepan with the rest of the sugar and the vanilla bean paste.
- When the milk mixture comes to the boil, pour it onto the egg yolks, stirring briskly.
- When fully combined, return the mixture to the pan. Then, on a medium heat, bring it to the boil while stirring continuously with a whisk for two minutes, allowing the mixture to bubble and thicken.
- Pour it into a bowl.
To make the tarts
- Roll out the pastry to two to three mm thick.
- Using a saucer or large round pastry cutter, cut circles from the pastry and place them in the pastry cases that have been lightly greased with butter. Press the pastry into the flutes and then, using a rolling pin, roll across the top of the tart cases to remove surplus pastry.
- Use a fork to prick the bases of the tart cases.
- Set aside the spare pastry to roll out later if needed.
- Place the pastry cases in the fridge and rest for 20-minutes before baking.
- Set the oven 180C, 170C fan, gas four.
- Once rested, bake the cases blind for 10-12 minutes then remove the foil and baking beans.
- Bake for a further 5 minutes or until firm and lightly coloured.
Tip: To make sure the mixture doesn’t develop a skin, dust with icing sugar and then cover with cling film, pressing it onto the surface of the mixture so that the air is pushed out.
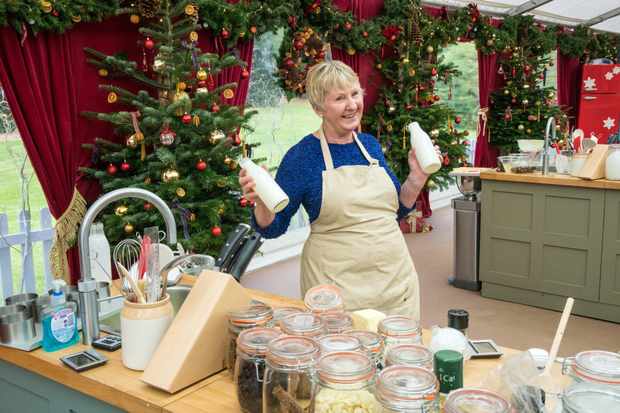
The Great Christmas Bake Off: – (Bakers Val)
For more fabulous recipes for every taste, see our food and drink pages. Be sure to follow us on Facebook, Twitter and Instagram for more inspiration, @PlatinumMagUK.

