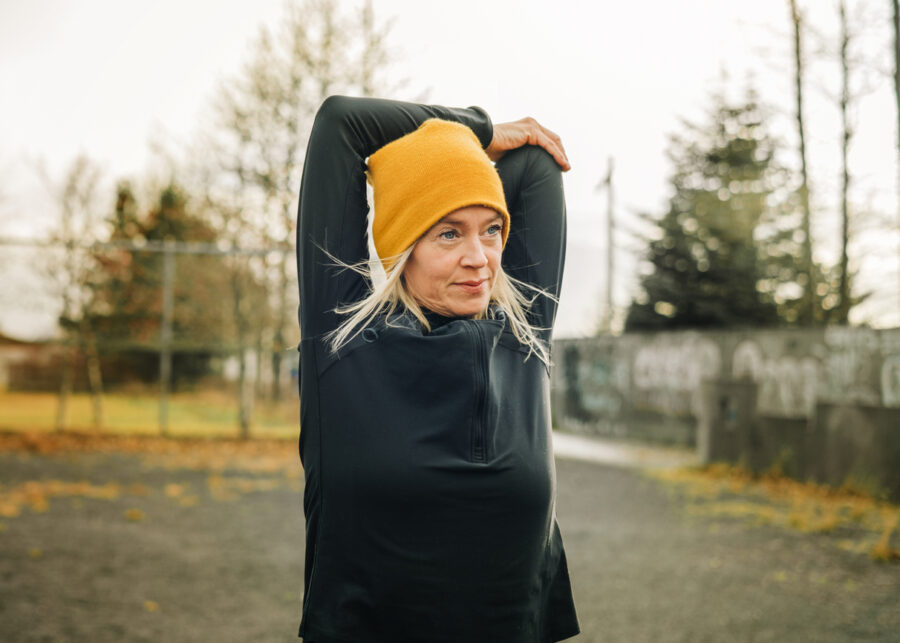
Aroosha Nekonam, certified personal trainer at Ultimate Performance, explains how best to shrink your waist (clue: it doesn’t involve lots of waist-specific exercises).
There is a misapprehension in fitness that you can do specific exercises that will shrink your waistline when, in reality, no one exercise can do that. While targeting specific body parts during exercise can be effective in building muscle in those areas, it won’t necessarily help you lose fat there. Even if you did 1,000 sit ups a day, you wouldn’t lose any weight from your waist if you weren’t in a calorie deficit and losing fat from all over your body.
Instead, you need to focus on fat loss as a whole, achieving this through increasing your daily activity, incorporating resistance training to help maintain muscle mass and by, of course, addressing your diet. You will then start to lose some fat around your waist along with other areas of your body over time, and you can also create the illusion of a smaller waist by building up and strengthening the muscles of your shoulders, arms, hips, glutes and legs.
If a leaner look is your goal, resistance training is so helpful. Try these exercises as part of a full body workout at home. Start with six or eight reps for each.
- Standing lateral raise (using resistance tube)
Put your feet in the middle of the tube and hold the hands. (You can also use water bottles). Start with a neutral grip and let your arms hang slightly away from the body with a small bend in your elbows. This is the start and finish position for each rep.
Raise the handles/bottles out to your sides. Your elbows should travel just in front of your shoulders.
You have reached the end of your range of motion when you can’t lift any higher without your shoulders shrugging upwards. Pause before reversing the move, slowly, returning to start position.
- Split squats (bodyweight or, as you progress, with a weighted backpack)
Adopt a hip-width stance and place your hands on your hips and tuck in your elbows.
Take a long stride backward with your non-dominant leg and raise the heel of your back foot so that only your toes are touching the floor with shoelaces facing down. Both your hips and back heel should be straight. This is the start and finish position for each rep.
Start the movement by dropping your back knee down towards the floor and driving the front knee forwards to close the gap between the hamstrings and calf.
In the bottom position, the front foot should be flat, and the back knee bent and as close as possible to the floor (but without actually touching it).
Pause at the bottom before you push through both legs to reverse the motion and return to the start position.
Repeat for the desired number of reps and then switch sides.
- Press-up (on the floor, then introduce a chair or bench as you progress).
Start in a press up position. If using a chair, place your hands on the sitting part.
Your feet should be positioned shoulder-width apart and supporting their weight on their toes.
Your hands should be slightly wide than shoulder width in a neutral position. The wrist, elbow and shoulder should all be in a straight line if viewed sideways. Your head, shoulders and glutes should be in a straight line with the spine being in a neutral position.
Start the movement by slowly pushing (not dropping) your chest to the floor or chair. Be careful not to drop your hips towards the floor as this can strain the spine.
Your end range of motion is where the chest cannot go any lower without your core collapsing and your shoulders rotating inwards.
Pause at the bottom of the movement before reversing the motion, under control, and returning to the start position, with the arms fully extended, pushing into the chair. This move can take time to perfect, so don’t push it.
- Hip thrust (on floor, chair or Swiss ball)
Place feet on floor/ball/chair. If using a chair, position it to prevent it from sliding.
Tuck your feet towards your buttocks, flat on the floor, chair or ball and shoulder-width apart.
Drive the hips up toward the ceiling by pushing through the heels and squeezing the glutes. Don’t let your knees drop to the sides.
In the top position, your hips should be fully extended and the torso parallel to the floor, with no overarching in your back. With the correct foot position, your shins should be almost vertical at the top of the movement. You can adjust foot position mid-set and experiment to find a position where you are able to feel your glutes the most.
Pause at the top of the movement and focus on contracting the glutes.
Reverse the movement by lowering the hips to the floor, while maintaining a neutral spine throughout. You have reached the end of your range in motion when you cannot move any further at the hip joint without the lower back rounding or knees rocking backwards.
- Abdominal crunches
Lie on your back on an exercise mat with knees bent and feet planted flat on the floor. There should be a slight arch in the lower back.
Cross your arms over the shoulders.
Engage your abdominal muscles and curl your upper back off the mat. Focus on shortening the distance between your sternum (breastbone) and belly button.
You have reached the end of your range of motion when you cannot move nay further without lifting your lower back off the floor.
Pause for a moment and focus on contracting your abs. Reverse the motion under control to return to the start position.


